A robust backup system is an essential part of any WordPress site. Ideally, it should be automated and allow you to back up your entire site and then easily restore it. Many options are available to you to set this up, but the best solution is still the top WordPress backup plugin.
In the WordPress ecosystem, the most popular plugins are often excellent. And the backup area is no exception. In this article, we will take a closer look at UpdraftPlus and set it up.
1. UpdraftPlus, the top WordPress backup plugin

This backup plugin is the most installed plugin in the WordPress directory. In fact, it is a complete tool to insure your site against errors and hacking. With it, you can schedule automatic and regular backups, send them to external storage and, if a problem occurs, restore your site in a few clicks.
2. Benefits of the paid version
The free version of UpdraftPlus represents a good enough solution for the majority of WordPress site owners. However, the paid version offers some significant advantages in terms of ease of use and optimization of your server resources and at reasonable prices.
These include add-ons that allow you to perform incremental backups, back up non-WordPress files, schedule a backup time, and send backups to multiple external storage locations. These four add-ons are designed to save your server resources and improve your work.
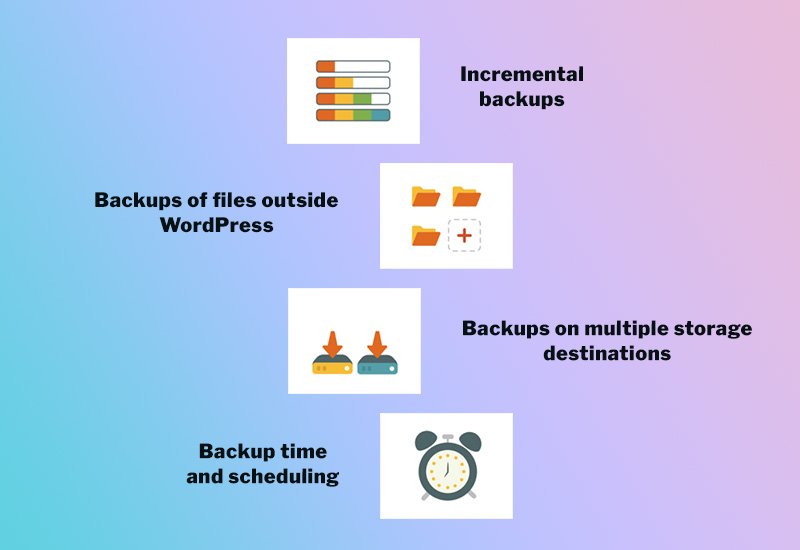
Incremental backups only copy items that have been modified instead of making full backups. Also, by choosing a schedule for your backups, you can select the time when your site is least busy and not overload your server. Finally, by backing up files outside of WordPress and sending your files to multiple external storage locations, you increase the redundancy of your system.
There are two types of licenses: you can choose between purchasing individual add-ons that include the features you need, or you can subscribe to the full service. The number of sites on which the add-ons can be installed differs according to the license.
3. Create a backup with the top WordPress backup plugin
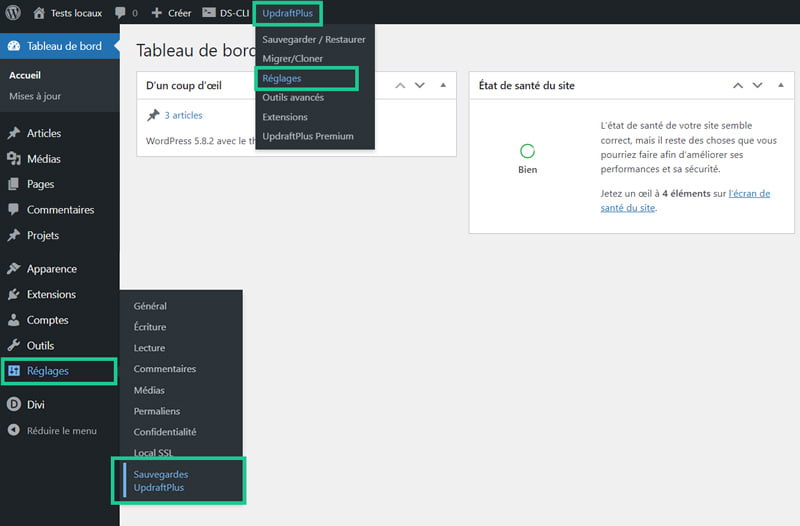
Setting up automatic backups is easily done. First, you will need to access either Settings > UpdraftPlus Backups > Settings tab, or the top bar menu UpdraftPlus > Settings.
Here it will be possible to select the frequency of file and database backups independently. I recommend backing up your database daily if your site is often modified and if not, weekly. This way you can keep seven or four sets of backups respectively.
As far as files are concerned, I recommend a weekly backup, keeping four copies. After setting this up and for the system to be fully effective, it remains to configure the sending of backup files to an external storage.

4. Send backups to an external storage
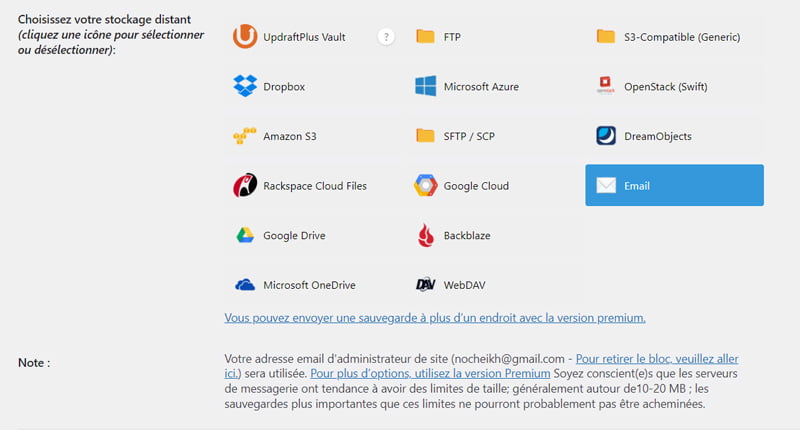
Copying your backup to an external storage is a particularly important step in a complete system. Indeed, it is essential not to keep backups on the same server as your production site. A considerable part of the problems that require restoration are server related.

After setting up an external storage, UpdraftPlus will automatically send your files to it at each scheduled backup. Therefore, if your server encounters a problem that destroys your site, you will be able to retrieve copies from this external storage and restore them to the same or a different server. The principle of this system is to ensure a form of redundancy that allows you to react quickly in case of a problem.
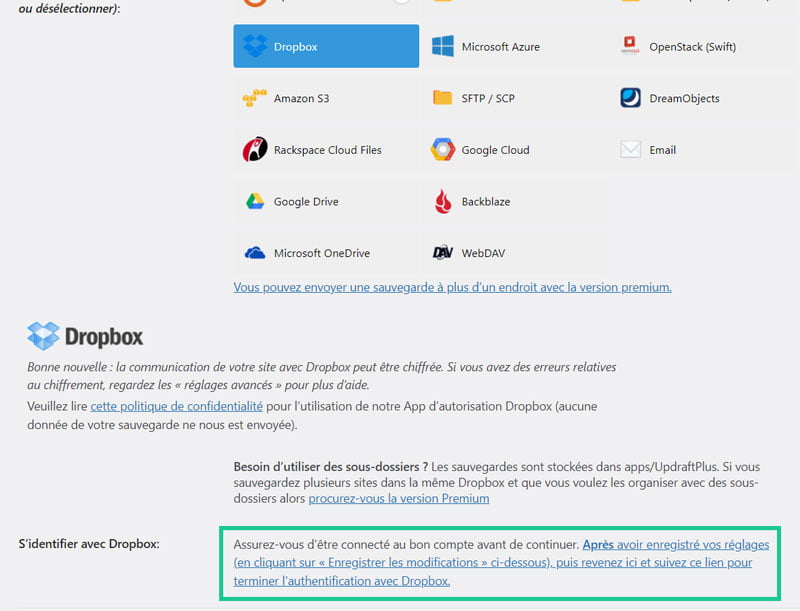
4.1 Setting up Dropbox
Dropbox is a great way to keep your backups off your server, with the added benefit of offering a free solution. To set up this storage, simply click on the Dropbox icon and save the changes. Then you can sign in with Dropbox by clicking on the authentication link.
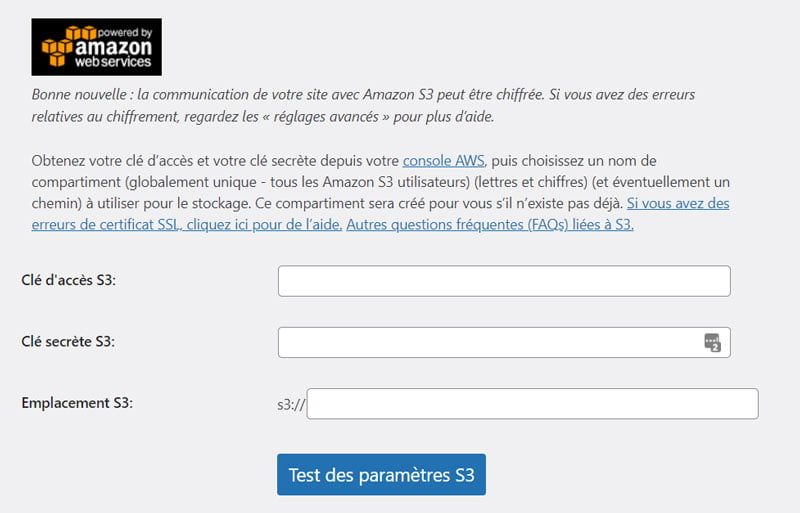
4.2 Setting up Amazon S3
Setting up Amazon S3 is also very simple. By clicking on the icon, a form is displayed, where you can enter your secret and access keys as well as the S3 location to send the backups to. Then you can test your settings.
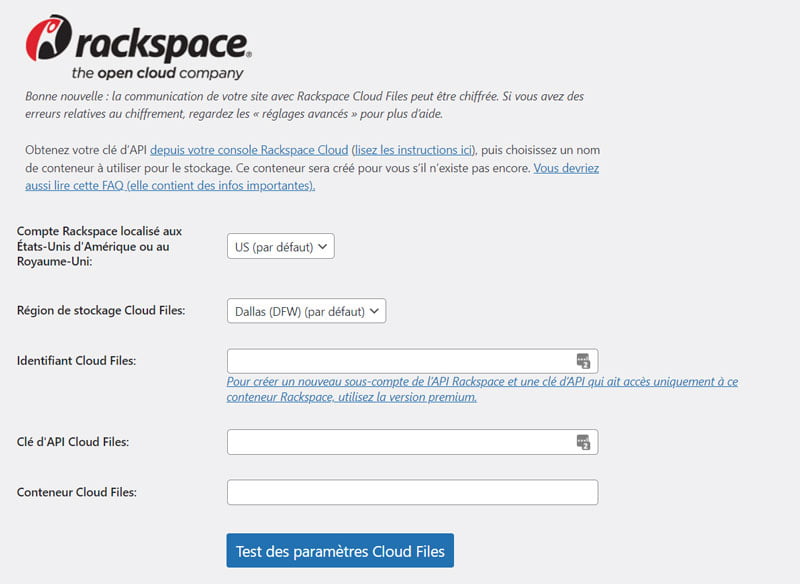
4.3 Setting up Rackspace
If you have a Rackspace account, it is also possible to send your backups there. After clicking on the icon, you will be asked for your Cloud Files login credentials to allow UpdraftPlus to copy your files to this storage. Then you can test your settings.
4.4 Setting up Google Drive
Google Drive provides an alternative to Dropbox by also offering a free solution. To set up this storage, you will first need to click on the icon, then save the changes before clicking on the Google Drive authentication link. UpdraftPlus will create a folder to keep your backups.

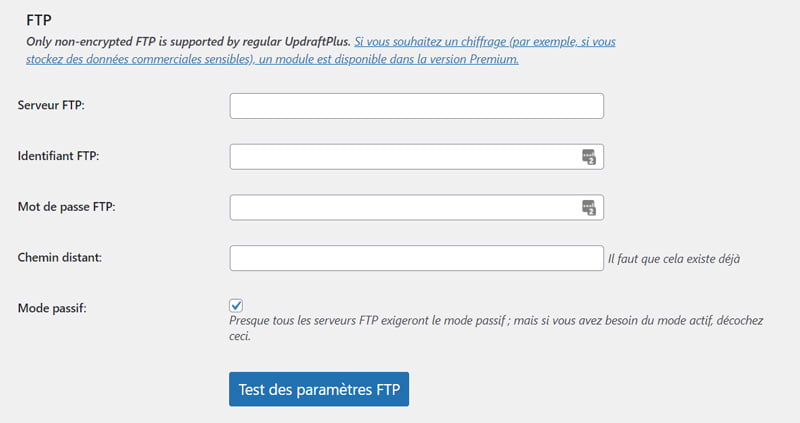
4.5 Setting up FTP
Unlike the external storage mentioned above, the free version of UpdraftPlus does not allow you to send your backup items encrypted to your FTP server. If your site has sensitive data, such as customer data, I recommend setting up a different storage.
On the other hand, if you do not store sensitive data, FTP may be suitable. However, your FTP server must be different from your production site server. To set up this storage, all you need to do is enter your FTP login details and the remote path, i.e. the folder in which your backup files will be stored.
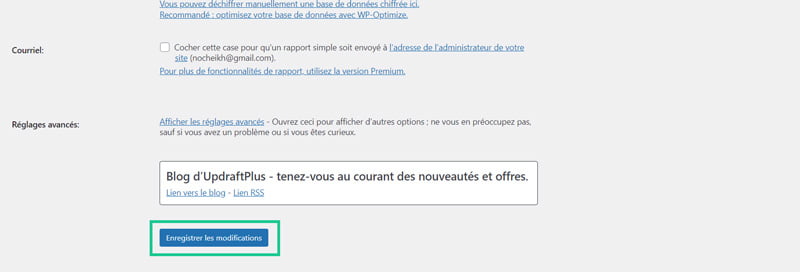
4.6 Setting up an email address
Sending backups by email as external storage is not the most efficient way to keep your files. This is because most of the time your email server has a size limit and if your files are larger, the backup will fail.
So I recommend that you only use this option if you don’t have an alternative. After clicking on the icon, the set up is complete and your backups will be sent to the admin email registered in WordPress. You can change this email by going to the main WordPress menu, then Settings > General if you want to receive your backed up items on a different address.
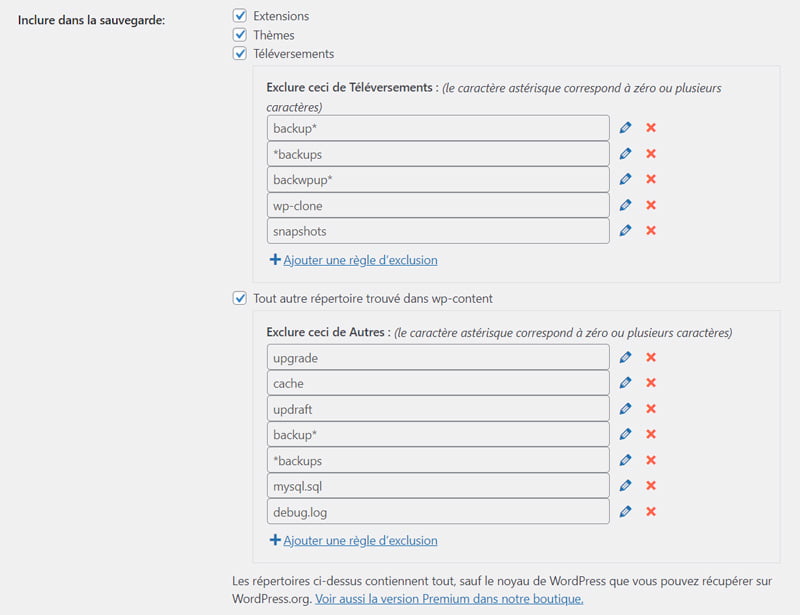
5. Items included in the backup
UpdraftPlus gives you the ability to select which files you want to include in your backups. By default, neither files already backed up on your server nor cached files are included in a backup. However, I recommend that you keep all of these default settings and include plugins, themes and uploads in your backups.
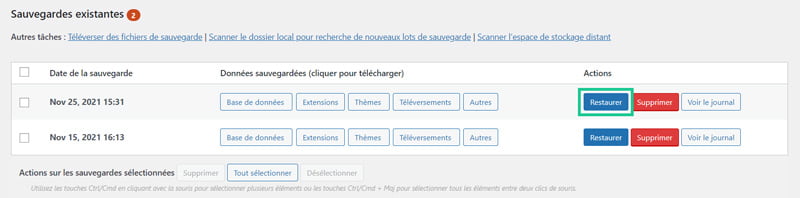
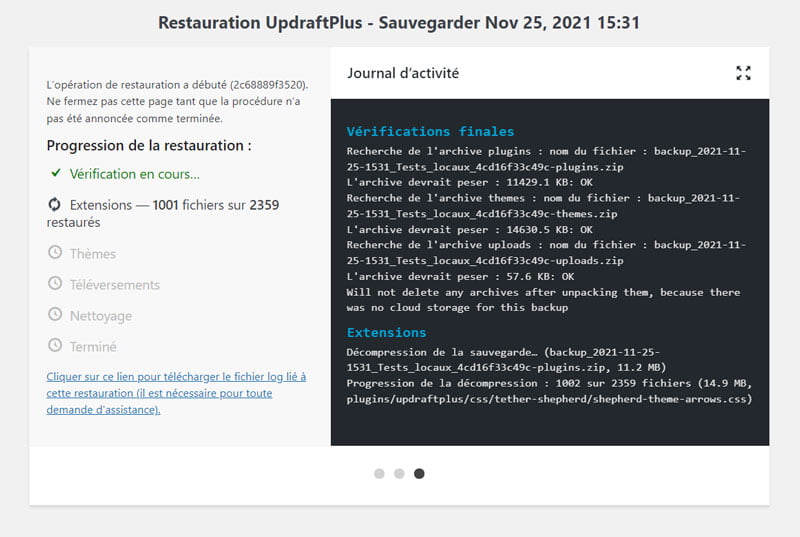
6. Restoring a backup with UpdraftPlus
To restore a backup, UpdraftPlus allows you to choose the copy that suits you among the existing backups and to restore all or part of the elements of your site. Simply check the boxes of the items you wish to restore: plugins, themes, uploads, others or database.
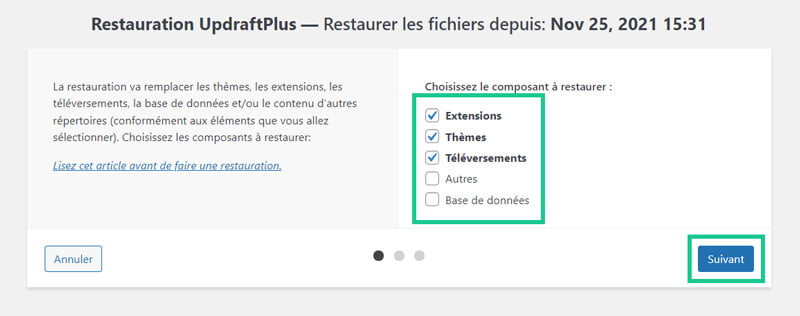
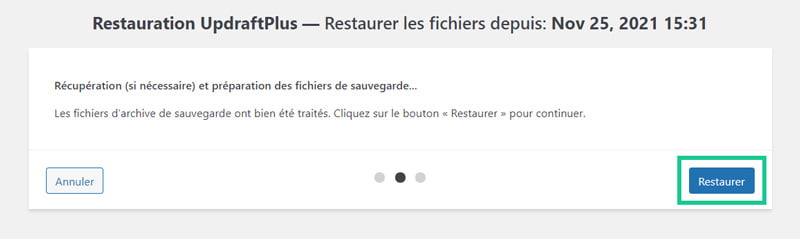
Then you can click Next, and then Restore to begin the process of restoring the selected items. Note that if you have lost access to your backend, you will need to reinstall WordPress and UpdraftPlus before you can restore.
7. Conclusion
UpdraftPlus remains the best way to back up your site to this day, thanks to its automation and file copying features to numerous external storages. This top WordPress backup plugin offers the most comprehensive system to insure your site against frequent, but annoying, problems. And if the free version lacks features for your needs, the premium version will complement it.
Tell me in comments about your experience with this plugin.
 Sauvegarde WordPress : extension, FTP et restauration
 UpdraftPlus migrator : guide complet
 Sauvegarder un formulaire WordPress et ses réponses