The security of a WordPress site relies on a number of principles to be implemented in parallel. Among these, encryption of data and connections between a browser and a server is one of the pillars of this protection. In this article, we will see how to secure a WordPress site with HTTPS.
Some of the links in this article are affiliate links. This means that if you click on the link and make a purchase, I will receive an affiliate commission, at no extra cost to you. If so, thank you for supporting this blog!
1. What is HTTPS protocol?
The HTTPS protocol (HyperText Transfer Protocol Secure) is the secure version of the HTTP protocol to which an encryption layer by SSL or TLS is added.. The latter is important because it encrypts the connections between a user’s browser, in other words a client, and the server on which your site is hosted.
In this way, the data transmitted between these two entities can’t, in principle, be intercepted. Indeed, by encrypting it, it becomes particularly difficult to decrypt it, although never impossible. This protects the data sent on contact forms and its transfer in the case of an online purchase, for example, but also secures the connections to your site.

Furthermore, an SSL/TLS certificate is essential for using HTTPS. And thanks to it, visitors can verify the identity of the site they are visiting and ensure that it is not a spurious site spoofing an authentic address. This certificate must be issued by a trusted third party authority for the system to make sense.
2. Importance of encryption
Securing a WordPress site with HTTPS allows you to protect users’ data. Moreover, the protocol is practically mandatory for e-commerce sites. Indeed, without it, you won’t be able to install the vast majority of the most common online payment methods that require it.
Furthermore, when your site uses HTTPS, a padlock appears next to the URL and represents a trust mark for someone viewing the site. Conversely, without HTTPS, an « not secure » statement will be displayed, which can cause distrust and doesn’t reflect well on your business.
Finally, Google says it takes this parameter into account for SEO. Your site won’t necessarily rank better using HTTPS, but it could be penalised if it doesn’t.
3. Installing an SSL Certificate
The first step to secure a WordPress site with HTTPS is to install an SSL/TLS certificate. There are several options for doing this. It is possible to obtain a certificate through your web host, especially if you are on shared hosting, or through a service such as Cloudflare.
For several years now, the non-profit certification authority Let’s Encrypt has been offering certificates for free. These should be sufficient for most use cases, especially for small and medium-sized companies. For large companies, it is still recommended to buy a certificate that allows the identity of a site to be verified with more guarantees.

3.1 Getting a certificate from a hosting company
To get a certificate from your web host, it is necessary to find out about the steps to follow. This is because not all web hosts operate in the same way. If you’re on the market for quality hosting, take this criterion into account when selecting the right company.
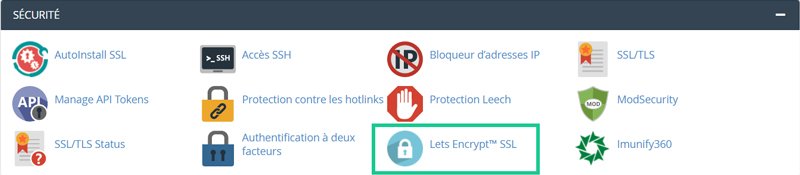
In the case of hosting with cPanel, it is usually possible to install a certificate by going to the security section and choosing Let’s Encrypt. After installation, the certificate should be renewed automatically every three months. If not, it is important to renew it manually.
3.2 Getting a certificate through Cloudflare
If your web host doesn’t offer certificates or if you don’t want to buy one, it’s still possible to get one for free through Cloudflare. To do this, you’ll need to put your site on Cloudflare by first creating an account and linking your domain name to it.
Then you can change the nameservers associated with your domain name. This change must be made in the dashboard of the service where you purchased the domain name for your site. This may simply be your web host.
Then, after checking and, if necessary, changing your DNS records in Cloudflare, you can activate the SSL/TLS function. If your origin server does not have an SSL certificate, you will need to choose flexible SSL mode.
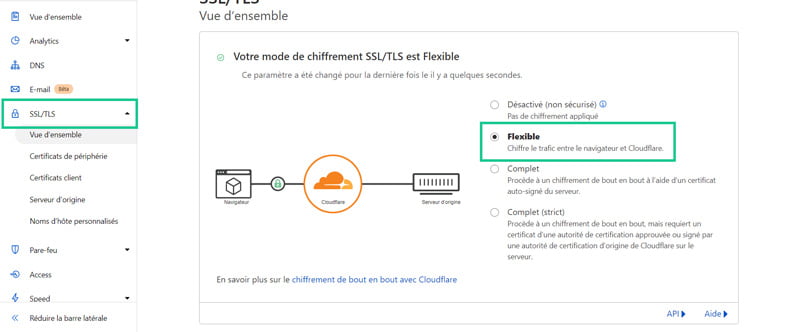
This certificate doesn’t protect you completely since encryption is not active between Cloudflare and your origin server. Nevertheless, it protects you from many attacks and is a much better option than no encryption at all. Also, if your host doesn’t offer a certificate, I recommend migrating your site to an alternative company at the end of your billing period.
4. Changing a site’s links from HTTP to HTTPS
The next step is to change your site’s URLs to enable HTTPS. This can be done either using a plugin or manually. The goal is to transform all URLs from HTTP to HTTPS and redirect all HTTP requests to HTTPS.
4.1 Really Simple SSL, the ultra simple plugin
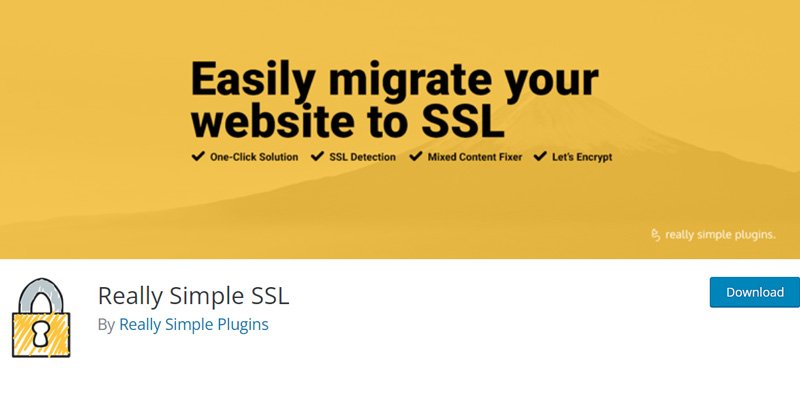
After installation, this plugin requires almost no set up. It takes care of changing your insecure links to HTTPS and doing the necessary redirects. It also solves the issue of mixed content. These pages contain both HTTP and HTTPS content. For your site to be fully secure, only HTTPS content should be present.
4.2 Do a « search and replace »

You can also change your HTTP links to HTTPS by installing the Better Search Replace plugin and doing a « search and replace » for http://yourdomain.tld to https://yourdomain.tld. This allows you to fix mixed content errors, but will not solve the redirection issue.
5. Create redirects
It is also very important to redirect all of your site’s URLs from HTTP to HTTPS. This way, when someone visits your site, it will automatically display the HTTPS version, even if the person entered the address with HTTP.
The plugin mentioned above, Really Simple SSL, takes care of doing the redirects automatically. After installing it, you don’t have to do anything else. In addition, some web hosts also create redirects automatically when you install an SSL certificate.
To check if your URLs are redirected correctly, simply enter a URL of your site with the HTTP protocol and check if the redirection is effective. Be sure to do this test with several different URLs and with and without the « www » subdomain.
6. Update Google Search Console and Google Analytics
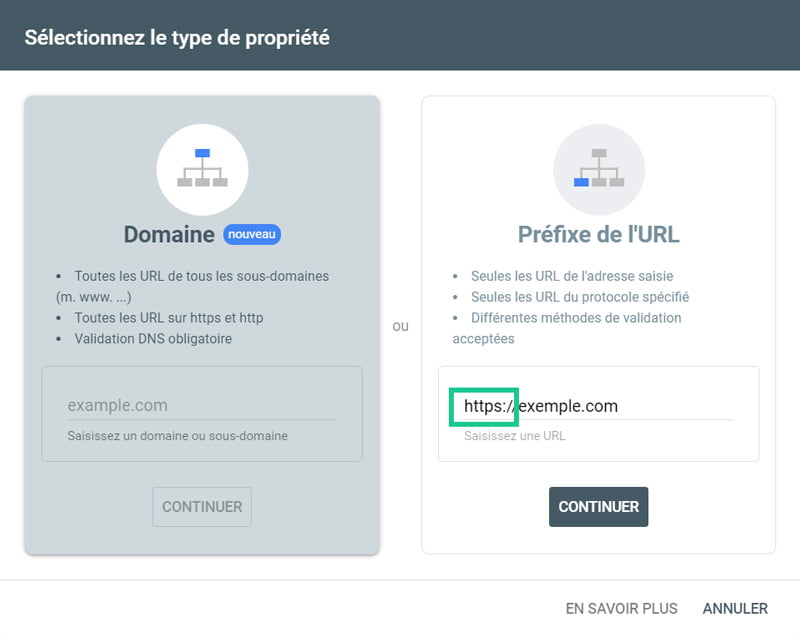
The final step in this process will be to add the HTTPS version of your site to the Google services you use. This step is not required if you have added your entire domain to Search Console and are using Google Analytics 4.
Otherwise, if the HTTP version of your site was registered with these services, you will need to add the HTTPS version in the case of Search Console and change the protocol in the case of Analytics.

7. Conclusion: how to secure a WordPress site with HTTPS
Although there was a lot of reluctance to move from HTTP to HTTPS between the years 2014 and 2018, today HTTPS is becoming a given. It is unavoidable to install an SSL/TLS certificate on a new site. It is also, by the way, the best time to install it. If your site is not yet secure, I recommend that you make this a priority.
Have you had problems switching to HTTPS? Let me know in the comments!
 Sécuriser son site WordPress avec HTTPS
 Configuration Cloudflare WordPress
 Protéger son site WordPress contre les attaques en 2024